Inserting Illustrations In MS Word
How to Insert Smart Art Graphics
You can insert Smart Art Graphics in your document to effectively communicate your message. You can insert a process flow, a relationship or an organization hierarchy. The steps to insert smart art graphics are given below;
- Place the cursor in the document where you want to insert graphics
- Select the Insert tab
- In Illustrations group select the 'Smart Art' command;
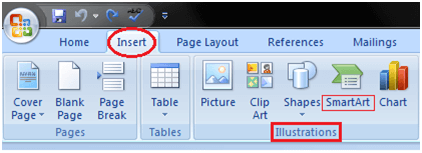
- On left side, a dialog box appears with list of categories
- In the center you will see the illustrations available in a category
- Select the desired illustration and click Ok
See the image:
How to Add Text in Smart Art Graphics
Word also allows you to add text in Smart Art Graphics; you can add facts, figures and any other information. The steps to add smart art graphics are given below;
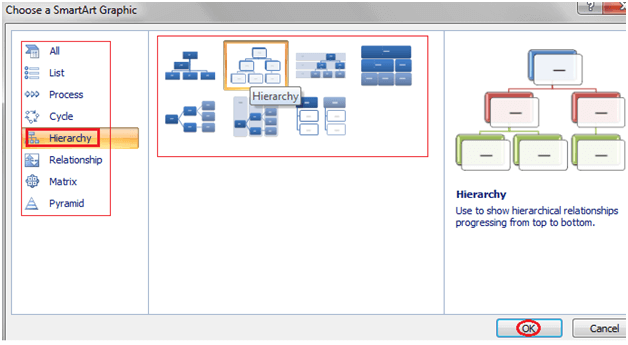
- Select the graphic
- Task pane appears on the left side if it is not visible then click the arrow on left side of graphic
- Type the text in task pane fields it will appear in the graphic
- You can also directly type the text in the graphic in text area
- Close the task pane after entering the text and click outside the graphic
See the image:
How to Insert Picture in Document
Pictures make our text more attractive and readable. You can insert relevant pictures in your text by following these steps;
- Place the cursor where you want to insert the picture
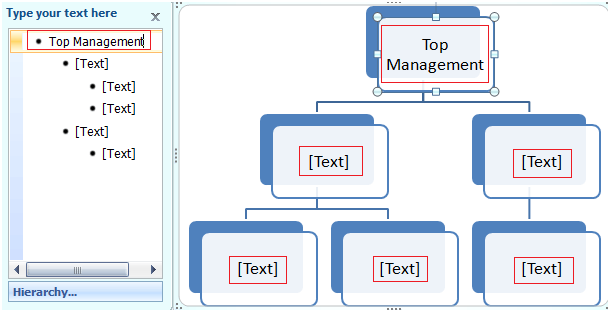
- Select the Insert tab on Ribbon
- In Illustrations group click the Picture command;
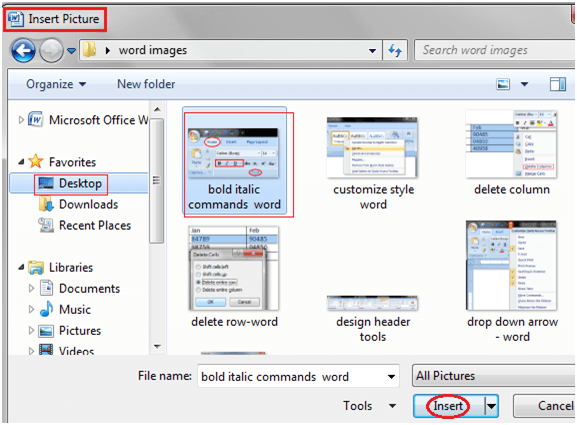
- It displays 'Insert Picture' dialog box
- Select the desired image
- Click Insert to insert the picture
See the image:
How to Insert Clip Art
Clip art refers to a graphic or a picture that you can insert in your document. It comes in different formats and styles. It is used to enhance the appearance of a document. The steps to insert a clip art are given below;
- Place the cursor where you want to insert the clip art
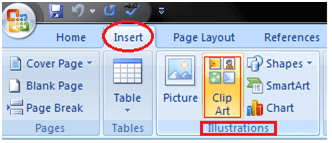
- Select the Insert tab
- In Illustrations group click the Clip Art command;
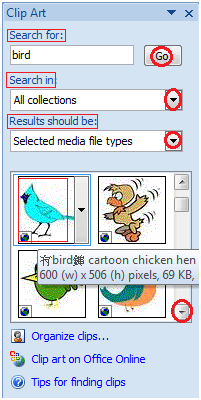
- A task pane appears on the right side of document
- Enter the keyword in 'Search for' field and select the suitable option in 'Search in' and 'Results should be' fields
- Click Go, clip art menu will appear
- Select the desired clip art with a left click
See the image:
How to Format Picture or Clip Art
You can change the appearance of your picture or clip art to enhance its visual impact. The format tab offers you various options for formatting pictures like contrast, changing color, line style, cropping, etc. The steps to format picture or clip art are given below;
- Select the picture or clip art that you want to format
- Format tab appears in the Ribbon
- Click the Format tab
- It displays four groups of related commands to modify or format picture or clip art
See the image:


Comments
Post a Comment