Advanced Formatting In MS Word
Lesson Goals
- Learn to use shading and borders to enhance your document.
- Learn to set line and paragraph spacing.
- Learn to format your document using styles.
- Learn to show, hide and use formatting symbols.
- Learn to edit PDFs in Word.
Shading and Borders
Two commonly used ways of drawing attention to a section of a document are adding Shading to the background behind the text and adding Borders around the selected text.
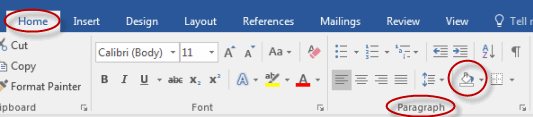
Shading Text
To color the background behind selected text in your document:
- Select the text to which you wish to add shading.
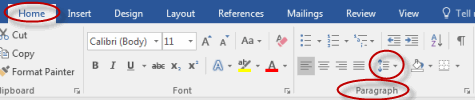
- On the Home tab, in the Paragraph group, click the Shading command:
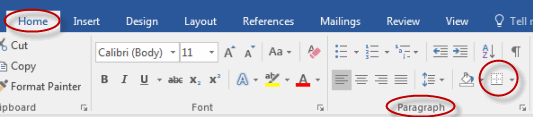
Adding Borders
To add borders around selected text in your document:
- Select the text to which you wish to add borders.
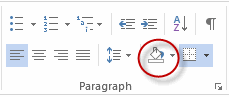
- On the Home tab, in the Paragraph group, click the Borders command:
Using Shading and Borders
Duration: 5 to 15 minutes.
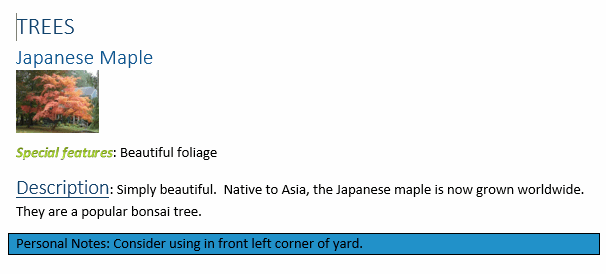
In this exercise, you will add a personal note to a document and call it out using shading and borders.
- Navigate to the Word2019.2/Exercises folder and open Plants in my yard - Intermediate.docx.
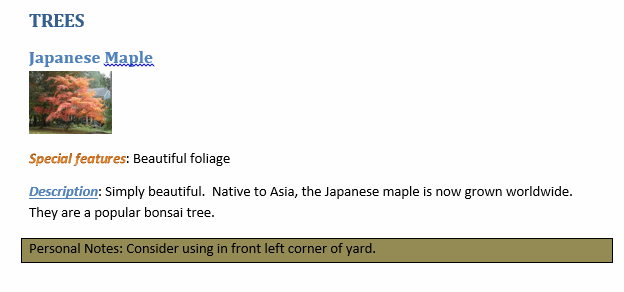
- Add a note beneath the description of the Japanese Maple that looks like the note in the image below:
- Save the document as we will continue to build on this document in future exercises.
- Type "Personal Notes: Consider using in front left corner of yard." beneath the description of the Japanese Maple.
- Select the text.
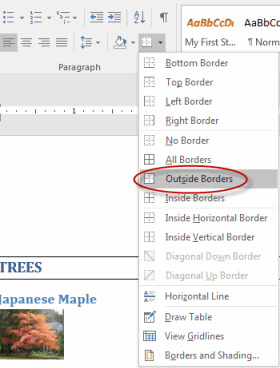
- Click the Borders control in the Paragraph group:
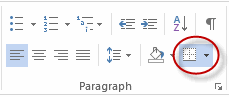
- Select Outside Borders:
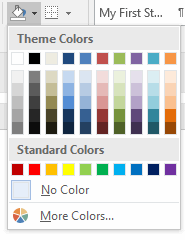
- Click the Shading control in the Paragraph group:
- Select the color of your choice:
- Save the document.
Setting Line and Paragraph Spacing
You can format your documents by setting spacing options.
To set line and paragraph spacing in a document:
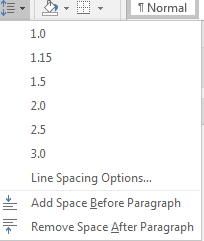
- From the Home tab of the Ribbon, in the Paragraph group, select the Line and Paragraph Spacing command.
- Select an option, or select Line Spacing Options to view more options.
To apply spacing to the entire document:
- From the Design tab of the Ribbon, in the Document Formatting group, select Paragraph Spacing.

- Select an option, or select Custom Paragraph Spacing to view more options.

Changing Styles
Styles are first covered in our Introduction to Microsoft Word course.
Benefits of Styles
To recap (and for those who did not take the Introduction to Microsoft Word class), using styles in Microsoft Word:
- Saves time.
- Provides for consistent formatting throughout your documents.
- Enables you to take advantage of advanced features of Microsoft Word, such as adding a table of contents to your document.
A document which uses styles can be re-formatted simply by changing the styles. To change styles in Microsoft Word:
- On the Design tab, in the Document Formatting group, click the Styles drop-down arrow:

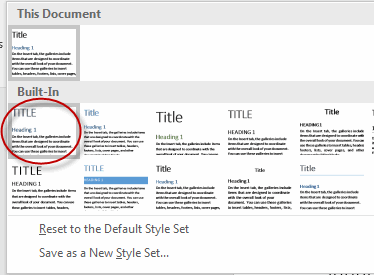
- A list of built-in style sets will appear:
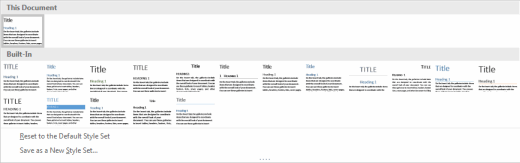
- Hover over the individual style sets to see how your document will look with each style set.
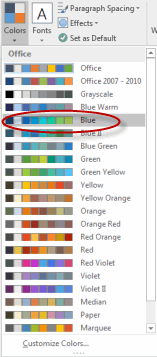
- After choosing a style set, click Colors and then the built-in Color Themes to see how your document will look with each.
- Repeat the above for fonts and paragraph spacing.
Setting a New Style Set as Default
To set a new style set as default:
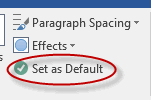
- Select the style from the Design tab.
- Select Set as Default.
Resolving Multi-Document Style Conflicts
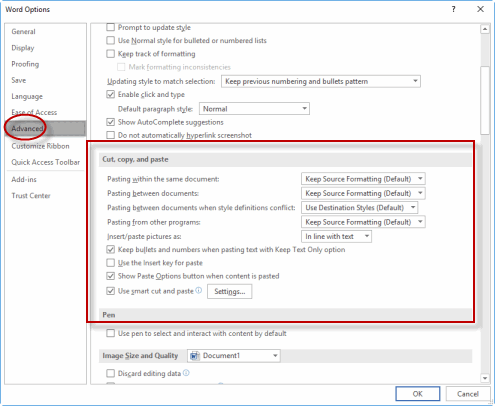
When working with multiple documents with different styles, you may copy and paste styles from one document into another in which the styles are in conflict. If this happens, Word will display a Paste Options button you can use to select how you want the document formatted.
You can control how Word handles copying and pasting styles using the Word Options dialog box (select File > Options). The options are available by selecting the Advanced section, under Cut, copy, and paste.
In Microsoft Word 2010, the Styles options appear on the Home tab, in the Styles group. You must click the Change Styles command to access them. 
Customizing Settings for Existing Styles
To customize a Word 2013, 2016, or 2019 style:
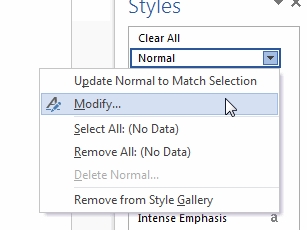
- Display the Styles task pane by pressing Ctrl+Shift+Alt+S.
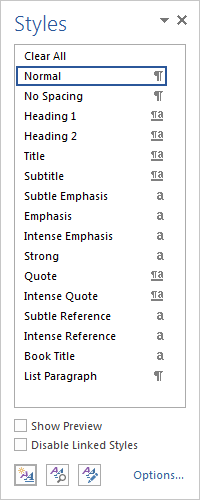
- Place the cursor over the style you want to customize and click the drop-down arrow. Select Modify.
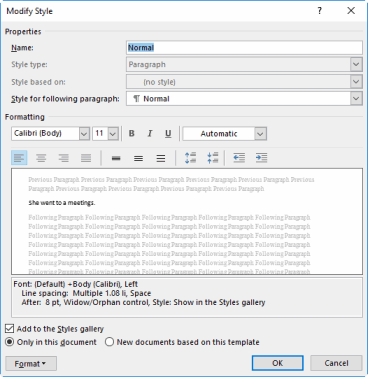
- Use the Modify Style dialog box to change the style, and then press OK.
Creating Character-Specific Styles
To create a character-specific style:
- Display the Styles task pane by pressing Ctrl+Shift+Alt+S.
- Select the New Style button.
- Type a name in the Name text box, and then from the Style Type drop-down list, select Character. Set options for the new style and click OK.
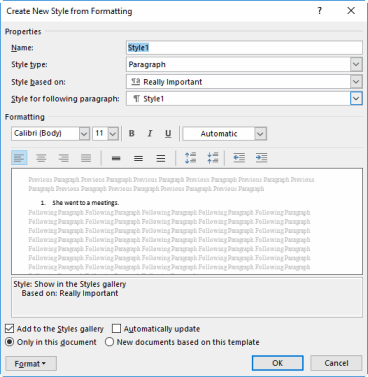
Assigning Keyboard Shortcuts to Styles
To assign a keyboard shortcut to a style:
- Display the Styles task pane by pressing Ctrl+Shift+Alt+S.
- Place the cursor over the style you want to set a shortcut for, and click the drop-down arrow. Select Modify.
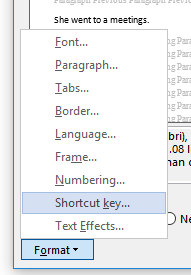
- Select Format, and then select Shortcut key.
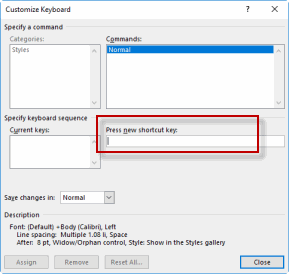
- With the cursor in the Press new shortcut key field, press the shortcut you want to assign to this style.
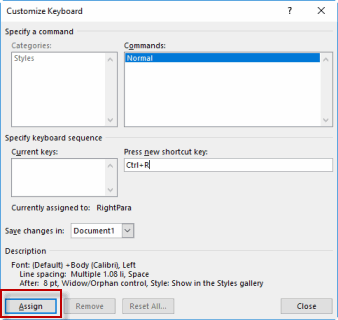
- Click Assign.
Copy Styles from Template to Template Using the Styles Organizer
To copy styles from one template to another:
- On the Home tab, select the Styles group Dialog Box Launcher.

- In the Styles pane, select Manage Styles.
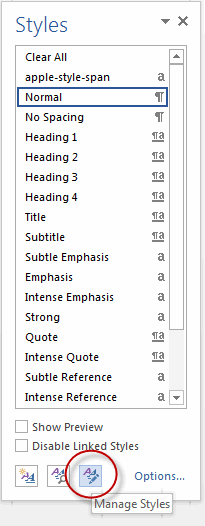
- From the Manage Styles dialog box, select Import/Export.

- Select styles to copy and paste to and from, and then click Close.

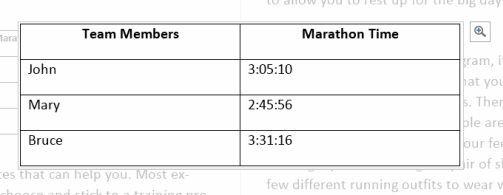
The Object Zoom Feature
With the Object Zoom feature, you can zoom in on a table, chart, or graphic in your document while in Read Mode, simply by double-clicking it.
To use the Object Zoom feature:
- While in Read Mode, double-click an object such as a graphic, a table, or a chart.
- The object is now highlighted and centered.
- Click the Zoom icon to zoom in or out from the object.
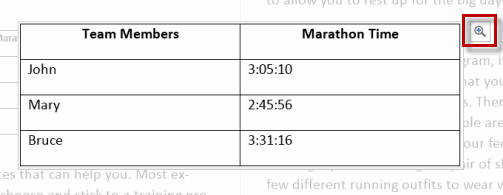
- When done working with the object, simply click away from it.
Changing Styles
Duration: 15 to 25 minutes.
In this exercise, you will change the look and feel of a document by changing the style set and the colors, fonts and paragraph spacing associated with that style set.
- Open or go to Plants in my yard - Intermediate.docx.
- Change the style set, colors, fonts and paragraph spacing to reformat your document to look like the below:
- Hint: Start by scrolling through the style sets until the heading (TREES) looks similar to the image above, except that the background color is blue and the border is blue.
- Save the document as we will continue to build on this document in future exercises.
In Microsoft Word 2013/2016/2019:
- On the Design tab, in the Document Formatting group, click the Styles drop-down arrow.

- Select the Basic (Elegant) style.
- In the Document Formatting group, now click Colors and select Blue.
- In the Document Formatting group, now click Fonts and select Office.

- In the Document Formatting group, now click Paragraph Spacing and select Compact.

- Save the document.
In Microsoft Word 2010:
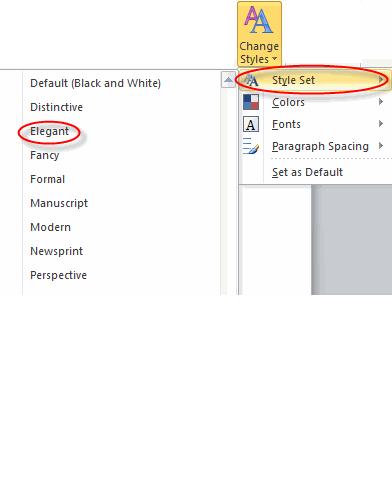
- On the Home tab, in the Styles group, click the Change Styles command:

- Click Style Set and select Elegant:
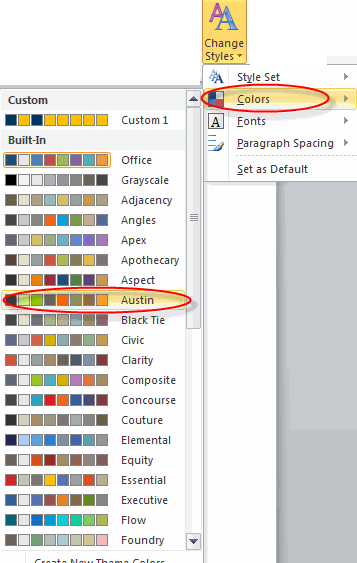
- Click Colors and select Austin:
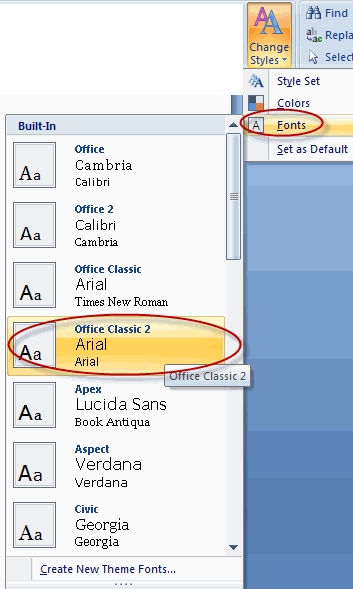
- Click Fonts and select Office Classic 2:
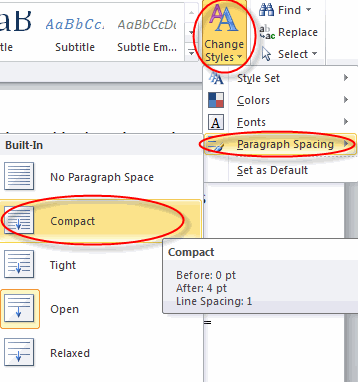
- Click Paragraph Spacing and select Compact:
- Save the document.
Paragraph Marks and Other Formatting Symbols
Displaying formatting symbols enables you to see those things which are otherwise invisible within your document, such as tabs and carriage returns (new paragraphs). To show formatting symbols (also called marks) in Microsoft Word:
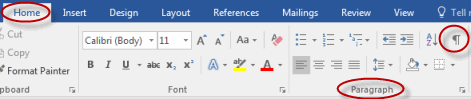
- On the Home tab, in the Paragraph group, click the Show/Hide Paragraph Mark command:

Formatting marks that are displayed when you click the Show/Hide Paragraph Mark command include: 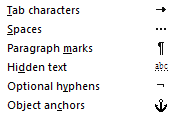
Using Formatting Symbols
Duration: 5 to 10 minutes.
In this exercise, you will use formatting symbols to find and remove extraneous tab and paragraph marks.
- Open or go to Plants in my yard - Intermediate.docx.
- Show formatting symbols.
- Find and remove extraneous tab and paragraph marks on the first page of the document.
- Save the document as we will continue to build on this document in future exercises.
Solution:
- On the Home tab, in the Paragraph group, click the Show/Hide Paragraph Mark command:
- Delete the paragraph and tab marks highlighted in the image below:
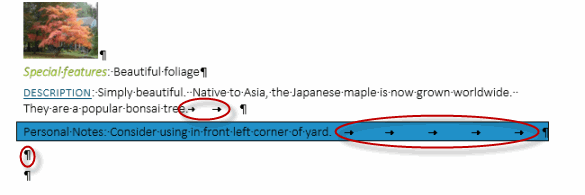
- Save the document.
Editing PDF Documents in Microsoft Word
Beginning with Word 2013, you can now open and edit PDF documents right within Word.
To edit a PDF:
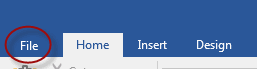
- With Word open, click the File menu tab.
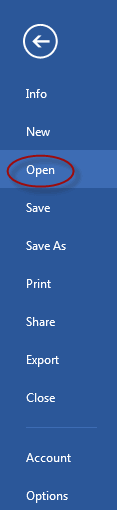
- Click Open.
- Navigate to and select the PDF document you want to edit.
- Click OK to the pop-up message that appears; Word will convert the PDF to an editable file.

- Make changes to the document.
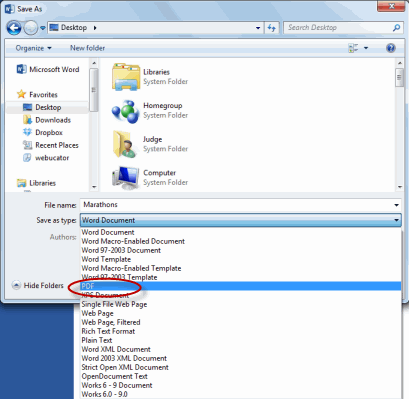
- Click the File menu tab and select Save As.
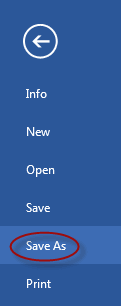
- Save your document as a PDF file.
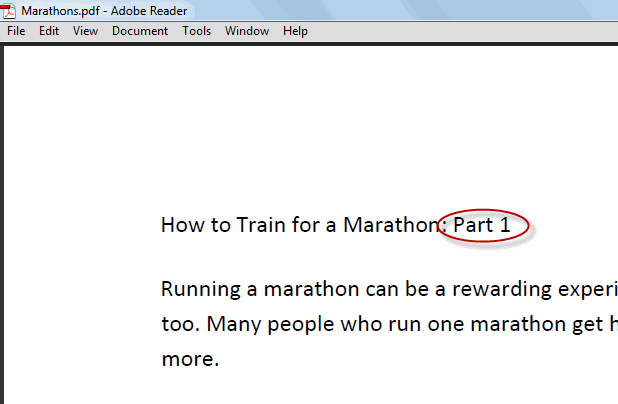
- Your changes will be evident in the file.


Comments
Post a Comment