Creating an Outline and Viewing Changes, Additions, and Comments In MS Office
Creating an Outline
You can create an outline of a Word document and then work with the outline to create a master document and subdocuments.
To create an outline:
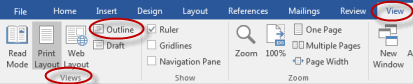
- Select the View tab, and from the View group, select Outline.
- Use the Outlining group to set headings and promote and demote text.
Promoting Sections in an Outline
To promote a section in an outline:
- In Outline view, highlight the section you want to promote.
- In the Outline Tools group, select Promote.
Creating a Master Document
You can create a master document and then insert subdocuments in it in Outline view.
To create a master document:
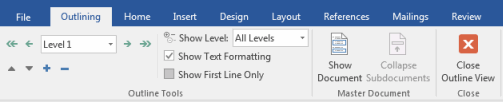
- In Outline view, select Show Document from the Master Document group of the Outlining tab.
- Insert subdocuments into the master document.
Inserting Subdocuments into a Master Document
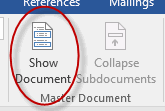
To insert subdocuments into a master document, from the Outlining tab, in the Master Document group, select Insert, and then locate and select documents to link. 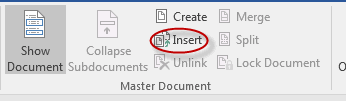
Adding Comments
When collaborating on a document it is often useful to be able to explain why something has been done in a certain way, or to ask a question about something in the document, or in some other way comment on something in the document. However, the explanation, question or comment doesn't really belong in the document itself. Microsoft Word's comments enable you to share your thoughts with those of whom you are collaborating without changing the document itself.
Word attributes comments to the person writing them using the user name and initials with which the copy of Microsoft Word used to add the comments has been personalized. To change the settings, click File > Options > General, and then look for Personalize your copy of Microsoft Office.
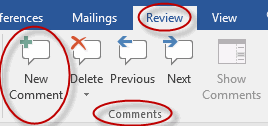
To add comments to a Microsoft Word document:
- Place your cursor in or next to the word where you would like your comment to show up. To comment on a section of text, select the text.
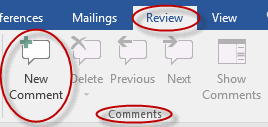
- Click on the Review tab and from the Comments group, click New Comment:
- Enter your comment.
Note that when you add a comment:
- The word or section on which you are commenting is automatically highlighted:

Working with Comments
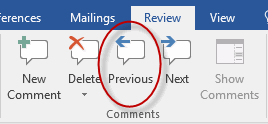
To select comments, do one of the following:
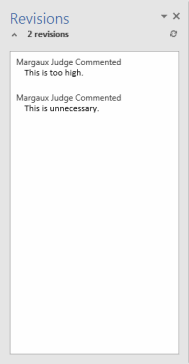
- Select the comment by clicking on it in the Revisions pane:
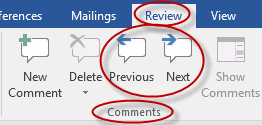
- On the Review tab, in the Comments group, use the Previous and Next commands:
In Microsoft Word 2010, you can also select a comment by doing the following: within the document, place your cursor in the highlighted area of the text on which you have commented:
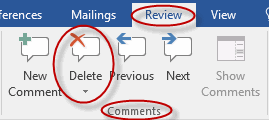
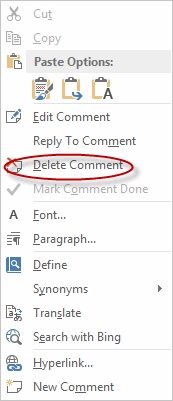
To delete comments, do one of the following:
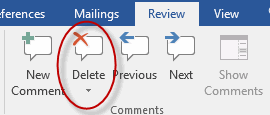
- On the Review tab, in the Comments group, click the Delete command:
- Place your cursor in the comment, right-click and select Delete Comment:
Adding Comments to a Document
Duration: 5 to 15 minutes.
In this exercise, you will add comments to a document and will use the comments commands to select and delete a comment.
- Navigate to the Word2019.3/Exercises folder and open General Terms and Conditions.docx.
- Add the following comments to the document.
- Section 1 states that the contract must be signed and returned within 15 days. Add a comment stating that this should be 30 days.
- Section 2 states that interest on unpaid amounts shall accumulate at 18%. Add a comment stating that this is too high.
- Add a comment highlighting Section 5 and noting that it is unnecessary.
- Use the comments commands to move to the first comment and delete it.
- Save the document.
Solution:
- Place your cursor in Section 1 next to "15 days":

- Click on the Review tab and from the Comments group, click New Comment:
- Enter a comment.
- Repeat steps 1 through 3 to enter the second and third comments. Note: for the third comment, you will need to highlight section 5 instead of just placing your cursor within the section.
- Click on the Review tab and from the Comments group, click Previous twice to select the first comment:
- Click on the Review tab and from the Comments group, click Delete:
- Save the document as we will continue to build on this document in future exercises.
Tracking Changes
It is often useful for other people to be able to see exactly what you have changed in a document. When you select Track Changes in a Microsoft Word document, all changes are tracked, including:
- Insertions
- Deletions
- Moved Text
- Formatting Changes
- Changes to Comments
- Changes to Borders
To track changes in a Microsoft Word document:
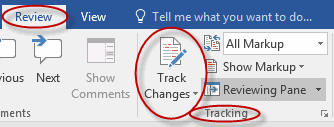
- Click on the Review tab and from the Tracking group, click Track Changes:
- To stop tracking changes, click Track Changes again.
To change the way changes to your document are shown:
- Click the Tracking group dialog box launcher.

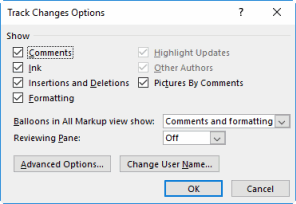
- Use the Track Changes Options dialog to choose how you would like various changes to appear:
In Microsoft Word 2010, to open the Track Changes Options dialog box, click on the Review tab and from the Tracking group, click the Track Changes drop-down arrow and then select Change Tracking Options: 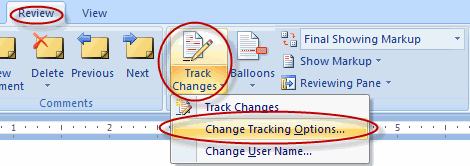
Tracking Changes
Duration: 5 to 10 minutes.
In this exercise, you will use Track Changes to track insertions, deletions and formatting changes.
- Open or go to General Terms and Conditions.docx
- Turn on Track Changes and make the following changes:
- In Section 11 (Assignment) add the following text at the end of the sentence: without the prior written consent of both parties.
- Delete Section 10 (Excess Materials).
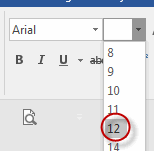
- Change the font size of General Terms and Conditions from 7 to 12 (in the body of the document, not the header).
- Save your changes as we will be using this document in future exercises.
Solution:
- Click on the Review tab and from the Tracking group, click Track Changes:

- Place your cursor in Section 11 at the end of the sentence, before the period, and enter "without the prior written consent of both parties."
- Select all text in Section 10 and press Delete.
- Select General Terms and Conditions (at the top of the body of the document, not in the header) and click on the Home tab and from the Font group, click the Font Size drop-down arrow and select 12:
- Save your changes as we will be using this document in future exercises.


Comments
Post a Comment