Page Layout In MS Office
Lesson Goals
- Learn to set the page orientation as portrait or landscape.
- Learn to set the print size of the paper.
- Learn to split your text into multiple columns.
- Learn to add page breaks.
- Learn to add section breaks.
Orientation and Paper Size
Page Orientation
The default page orientation for Microsoft Word documents is portrait. To change the orientation of your document to landscape:
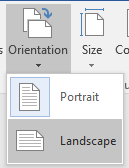
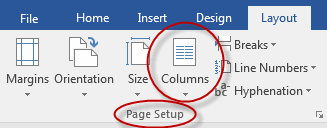
- On the Layout tab (PAGE LAYOUT in previous versions of Word), in the Page Setup group, click Orientation:

- Click Landscape:
Changing Paper Size
The paper size in Microsoft Word documents can be set for the whole document and for individual sections of documents.
To change the paper size for a section of your document:
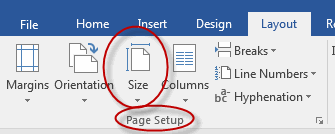
- On the Layout tab, in the Page Setup group, click Size:
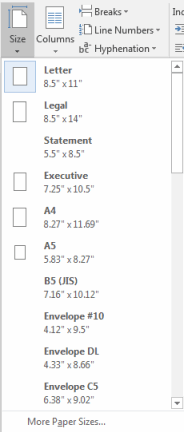
- Select the paper size of your choice:
To change the paper size for your whole document:
- On the Layout tab, in the Page Setup group, click Size:
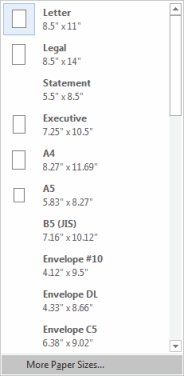
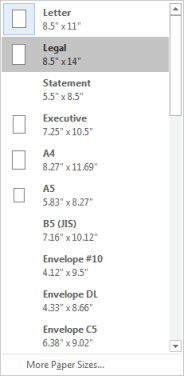
- Select More Paper Sizes:
- In the Page Setup dialog box, choose a paper size and for Apply to, select Whole document:

- Click OK.
Using Live Layout and Alignment Guides
When you click a graphic,image, or SmartArt, you will see an icon to the right, which is the Layout Options button. Click it to view options to format your images. 
You can select from a number of options, including text wrapping option, which allow you to wrap text around the image in a variety of ways. 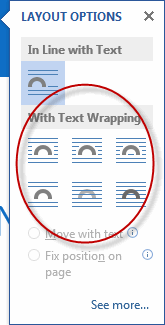
Live Layout
When you have an image with text wrapping, you can use the Live Layout feature. To use Live Layout:
- Click the image and drag it.
- As you drag the image, you will see a preview of what it will look like if you were to select a particular location; that is, the text will move to show how the image will appear.
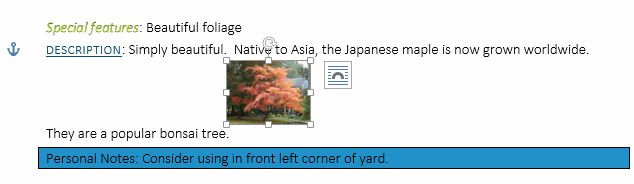
- When you determine the desired location for your image, release the mouse button.
You will notice an anchor icon as you drag the image.  The anchor shows the location of the image and the text that it is with.
The anchor shows the location of the image and the text that it is with.Alignment Guides
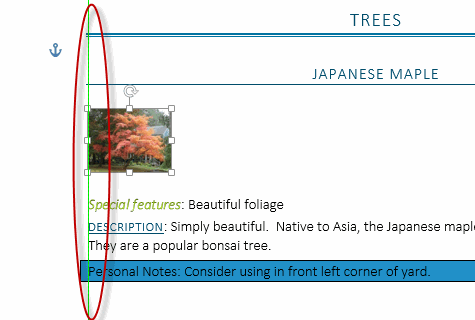
Another new feature that was introduced in Word 2013 are alignment guides, which help you place images. To use alignment guides:
- Drag the image and preview where it will go, using Live Layouts.
- As you move the image, you will see green dashed lines appear, which are the alignment guides. They help you align images to margins, text, and so on.
Formatting Text in Columns
To split your text into columns:
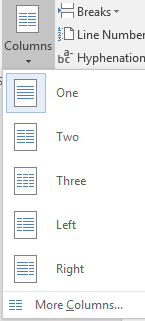
- In the Layout tab, on the Page Setup group, click Columns:
- Click one of the options in the menu to select it, or click More Columns to add more than three columns or columns with custom width and spacing:
Note that by default, changes to columns effect only the section in which you are working. To apply column changes to a whole document, you must click More Columns and then Apply to: Whole document 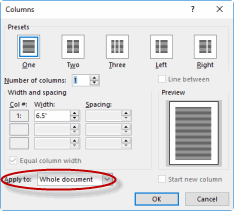
Changing the Page Setup
Duration: 5 to 15 minutes.
In this exercise, you will change the orientation of a document from portrait to landscape, change the paper size for the whole document, and split the text into two columns.
- Open or go to Plants in my yard - Intermediate.docx.
- Make the following changes to this document:
- Set the page orientation to landscape.
- Set the paper size to a different size than the default.
- Split the text into two columns.
- Save the document as Plants in my yard - landscape.docx.
- On the Layout tab, in the Page Setup group, click Orientation:

- Click Landscape:

- On the Layout tab, in the Page Setup group, click Size:

- Click Legal or another different size than Letter:
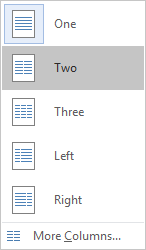
- In the Layout tab, on the Page Setup group, click Columns:

- Click Two:
- Save the document as Plants in my yard - landscape.docx.
Advanced Formatting
Set Character Space Options
To set character space options:
- From the Home tab, in the Font group, select the Font Dialog Box Launcher.

- Select the Advanced tab, and under Character Spacing, select options.
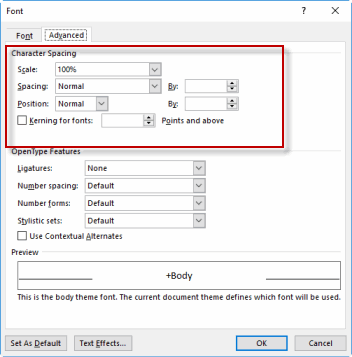
- Click OK to set the options.
Set Advanced Character Attributes
To set advanced character attributes:
- From the Home tab, in the Font group, select the Font Dialog Box Launcher.
- Select the Advanced tab, and access the options in the OpenType Features section.

Add Linked Text Boxes
You can link text boxes in Word, which is useful if you expect changes to the text.
To link text boxes:
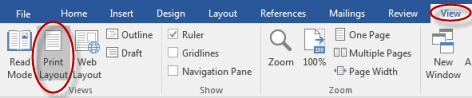
- Make sure you are in Print Layout by selecting the View tab. Select Print Layout if necessary.
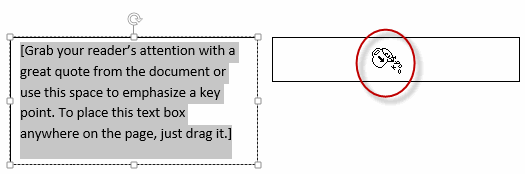
- Select the Insert tab, and from the Text group, select Text Box.
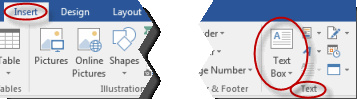
- Select an option from the drop-down list, and click and drag to place it where you want it in your document.
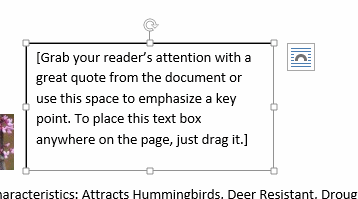
- Repeat these steps to add additional text boxes.
- Click the text box and from the Drawing Tools Format tab, select Create Link.
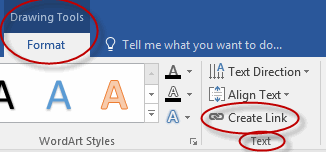
- The pitcher icon tilts when hovering over a text box that can receive a link; click in the empty text box to which you want to flow text.
Working with Fields
Add Custom Fields
To add a custom field in Word:
- Put the cursor where you want to insert the field in the document.
- Select the Insert tab, and in the Text group, select Quick Parts, and then select Field.
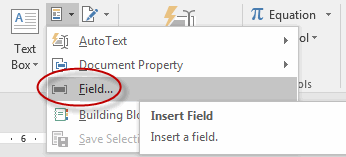
- Select the field options, and click OK to insert the field.
Modify Field Properties
To modify a field's properties:
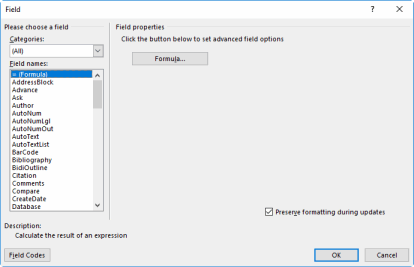
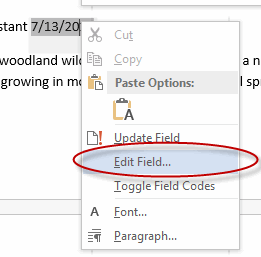
- Right-click the field and select Edit Field.
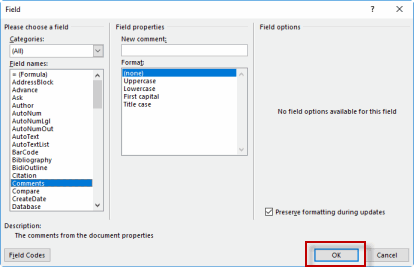
- In the Field dialog box, specify modifications and click OK to save them.
Create Custom Field Formats
When working with fields, you can customize them as you would other Word elements.
To customize field formats:
- Right-click the field and select Edit Field.
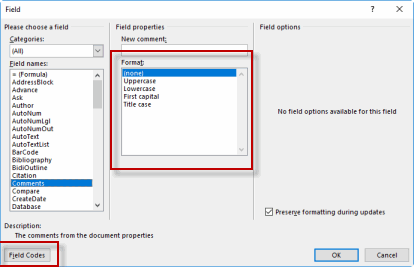
- Make changes in the Format list. You can also select Field Codes to make additional changes.
Add Field Controls
When adding fields to forms, you can add controls to each field to further customize your form.
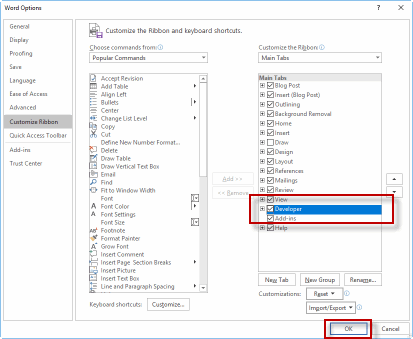
Before you can add field controls, you must have the Developer tab of the Ribbon active. To do so, right-click the Ribbon and in the Customize the Ribbon section, check the Developer check box and then click OK.
To add field controls:
- Select the Developer tab and from the Controls group, select Design Mode.
- Select the content control that you want to modify. Change the placeholder text or make any other changes.
Modify Field Control Properties
To modify a field control's properties:
- Select the field you want to modify.
- On the Developer tab, from the Controls group, select Properties.
- Set options in the dialog box and click OK to save them.
Link to External Data
You can add a link in your document to external data.
To link to external data:
- Select in your document where you want the link to appear.
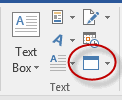
- Select the Insert tab, and from the Text group, select Object.
- In the Object dialog box, select the Create from File tab.
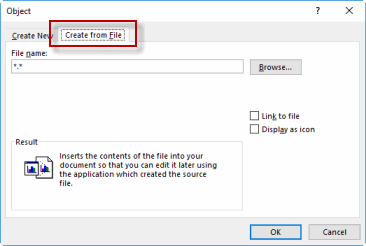
- Enter the name of the file you want to link to or browse to it.
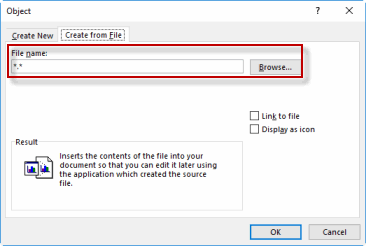
- Select Link to file and click OK to insert the file.
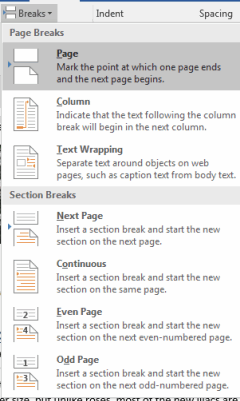
Page and Section Breaks
Page and section breaks make it easy to layout and format different parts of your documents in different ways. For example, use page or section breaks when you want to:
- Apply different headers and footers to different sections of your document.
- Restart page numbering for each section or chapter of your document.
- Start certain text at the top of a page or column.
- Split a section of your document (as opposed to the whole document) into more than one column.
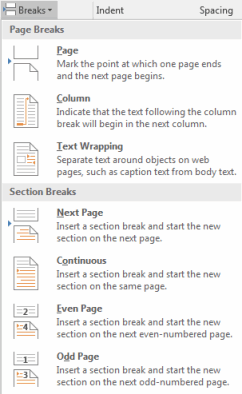
The following table list page and section breaks available in Microsoft Word:
| Types of Breaks | Use |
|---|---|
| Page |
Use when you want the following text to start at the beginning of the next page, and you want the same format and layout settings to apply on either side of the break.
|
| Column |
Use when you want the following text to start at the top of the next column.
|
| Text Wrapping |
Use to separate text around objects on web pages.
|
| Next Page |
Use when you want the following text to start at the beginning of the next page, and you want different format and layout settings to apply on either side of the break.
|
| Continuous |
Use when you want the following text to start on the same page, but you want different format and layout settings to apply on either side of the break.
|
| Even Page |
Use when you want the following text to start at the beginning of the next even page.
|
| Odd Page |
Use when you want the following text to start at the beginning of the next odd page.
|
Preventing Orphans
To prevent orphans in text (where one line appears by itself on a second page, away from the main text), from the Home tab of the Ribbon, in the Paragraph group, select the Dialog Box Launcher. and then in the Paragraph dialog box, select the Line and Page Breaks tab and check the Widow/Orphan control check box.
and then in the Paragraph dialog box, select the Line and Page Breaks tab and check the Widow/Orphan control check box.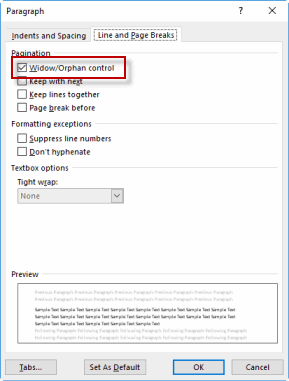
Adding Page and Section Breaks
To add a page break or section break to a Microsoft Word document:
- On the Layout tab, in the Page Setup group, click Breaks:
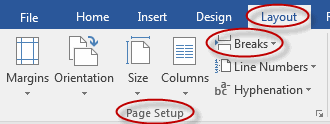
- From the menu that appears, select the page break or section break of your choice:
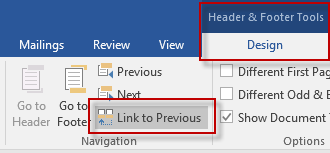
Linking and Breaking Links to Section Headers or Footers
When using headers and footers in sections, you can create and break links to the header and/or footer used in the previous section by selecting the header or footer, and then from the Header & Footer Tools Design tab, selecting or deselecting Link to Previous in the Navigation group.
Adding Page and Section Breaks
Duration: 10 to 20 minutes.
In this exercise, you will add page breaks and section breaks to a document and take a short quiz.
- Working with Page Breaks
- Open Plants in my yard - Intermediate2.docx. Note that all section and page breaks have been removed from the document.
- Add breaks such that:
- Each category of plants (trees, perennials, ground covers) can be laid out and formatted independently.
- Each plant starts on a new page.
- Save the document.
- Circle the appropriate answer to the following statements and questions:
- Adding page breaks enables you to apply different headers before and after the break.
- True
- False
- Which break can be used to add a break in the middle of a page, such that text appears before and after the break on the same page?
- Column Break
- Continuous Section Break
- Page Break
- Which break must be used to split one (and only one) section of your text into more than one column?
- Column Break
- Page Break
- Section Break
- Which break is used to separate text around objects on web pages?
- Page Break
- Continuous
- Text Wrapping
- Adding page breaks enables you to apply different headers before and after the break.
Solution:
- Working with Page Breaks
- Place your cursor before the Heading 1 text "PERENNIALS" and on the Layout tab in the Page Setup group, click Breaks, Section Breaks > Next Page:
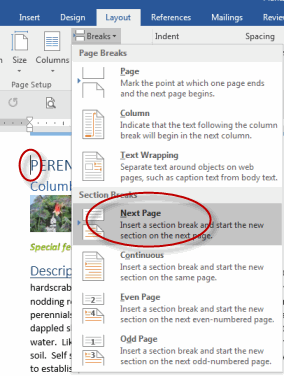
- Repeat the above for "Ground Covers".
- Place your cursor before the Heading 2 text "Lilac" and on the Layout tab in the Page Setup group, click Breaks, Page:
- Repeat the above for all plants except those that are the first in their section.
- Place your cursor before the Heading 1 text "PERENNIALS" and on the Layout tab in the Page Setup group, click Breaks, Section Breaks > Next Page:
- Answers to the statements and questions:
- Adding page breaks enables you to apply different Headers before and after the break.
- True
- False
- Which break can be used to add a break in the middle of a page, such that text appears before and after the break on the same page?
- Column Break
- Continuous Section Break
- Page Break
- Which break must be used to split one (and only one) section of your text into more than one column?
- Column Break
- Page Break
- Section Break
- Which break is used to separate text around objects on web pages?
- Page Break
- Continuous
- Text Wrapping
- Adding page breaks enables you to apply different Headers before and after the break.


Comments
Post a Comment