Finalizing Microsoft Excel Worksheets
Lesson Goals
- Learn to set margins in Microsoft Excel worksheets.
- Learn to set the page orientation to portrait or landscape.
- Learn to set the print area in a worksheet.
- Learn to scale a worksheet so that all data prints on one page.
- Learn to add headers and footers to a worksheet.
Setting Margins
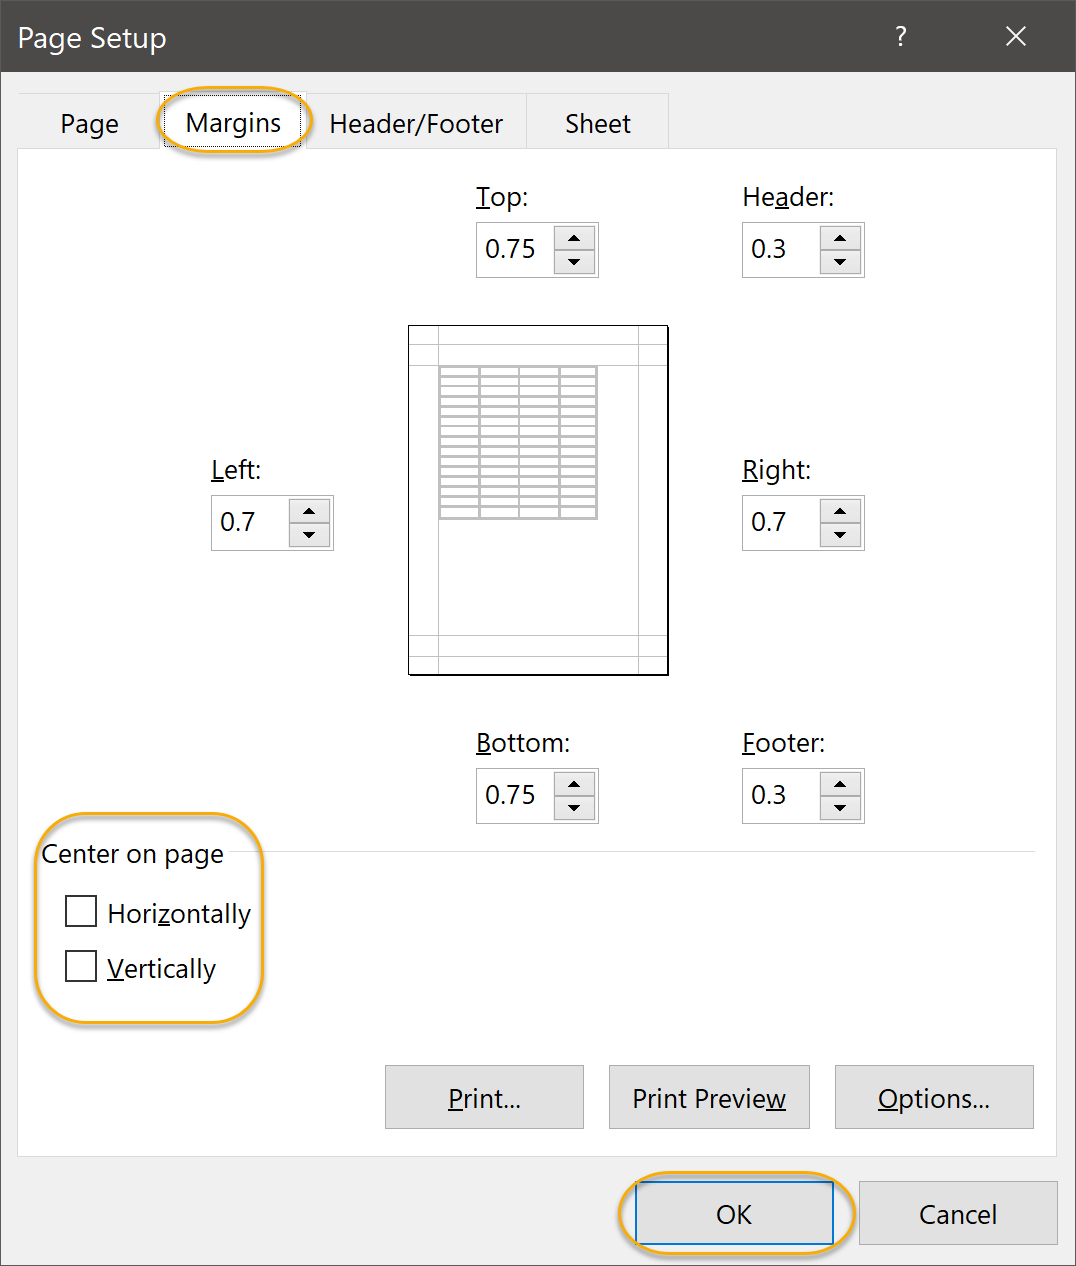
You can increase and decrease margins in Microsoft Excel worksheets to change the amount of white space that shows up between your data and the edge of the page when you print. By default, top and bottom margins are .75 inches, side margins are .7 inches, and header and footer margins are .3 inches.
To set the margins in a worksheet:
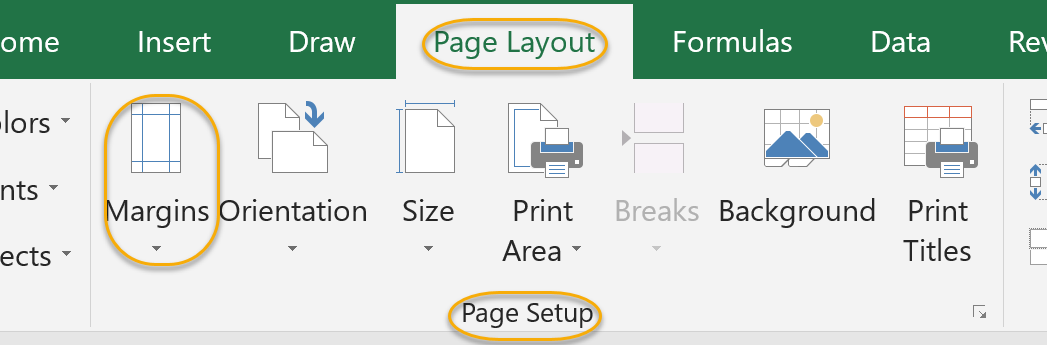
- On the Page Layout tab, in the Page Setup group, click the Margins command:
- Select from the options available (Last Custom Setting, Normal, Wide, or Narrow) or select Custom Margins to set your own margins:

- If you select Custom Margins, you will be presented with the Page Setup dialog box, where you can set all margins. Note that on the Margins tab of the Page Setup dialog box, you also have the option to center your data horizontally or vertically on the page. After setting your margins, click OK:

Setting Page Orientation
You can choose to orient your pages vertically (Portrait), which is the default, or horizontally (Landscape). To set the page orientation:
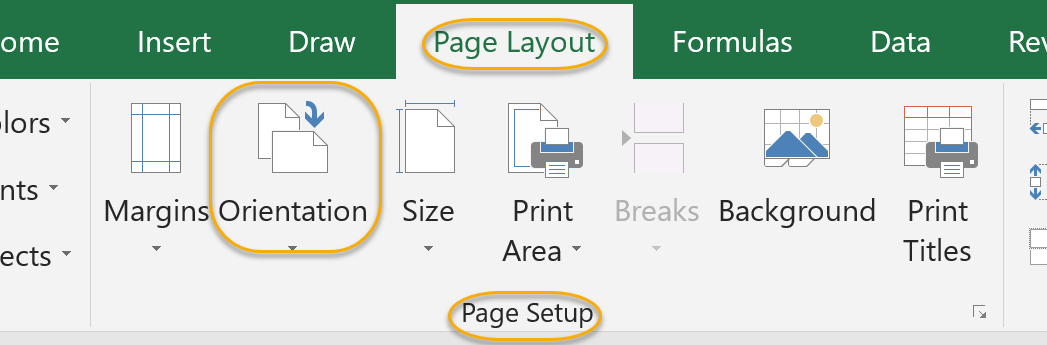
- On the Page Layout tab, in the Page Setup group, click the Orientation command:

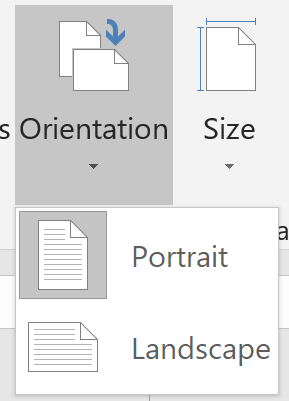
- Select Portrait or Landscape:
Setting the Print Area
Often times it is desirable to print only a section of a worksheet. To do this, you simply need to set this section as the print area. To set the Print Area:
- Select the cells you wish to print.
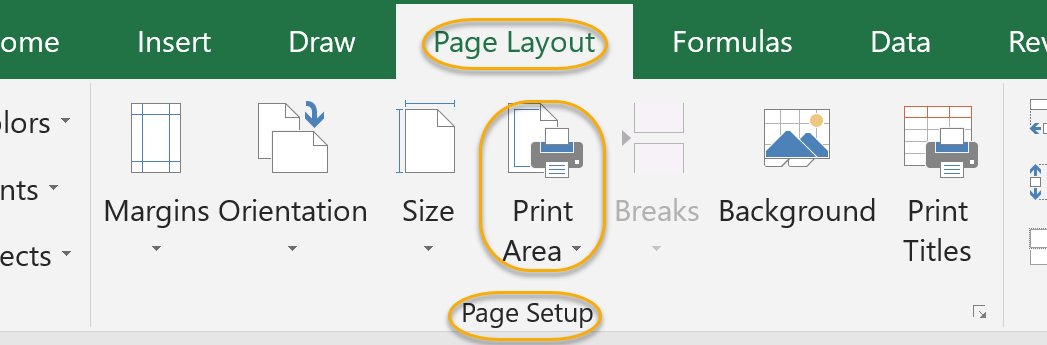
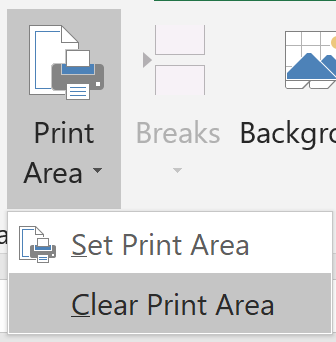
- On the Page Layout tab, in the Page Setup group, click the Print Area command:
- Select Set Print Area:
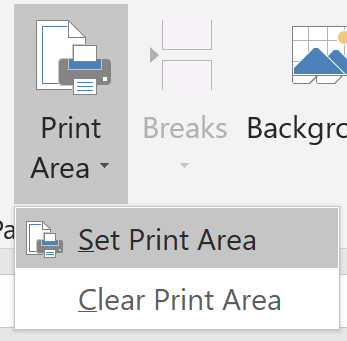
- To clear the Print Area, select any cell in the worksheet and then click Print Area and Clear Print Area:
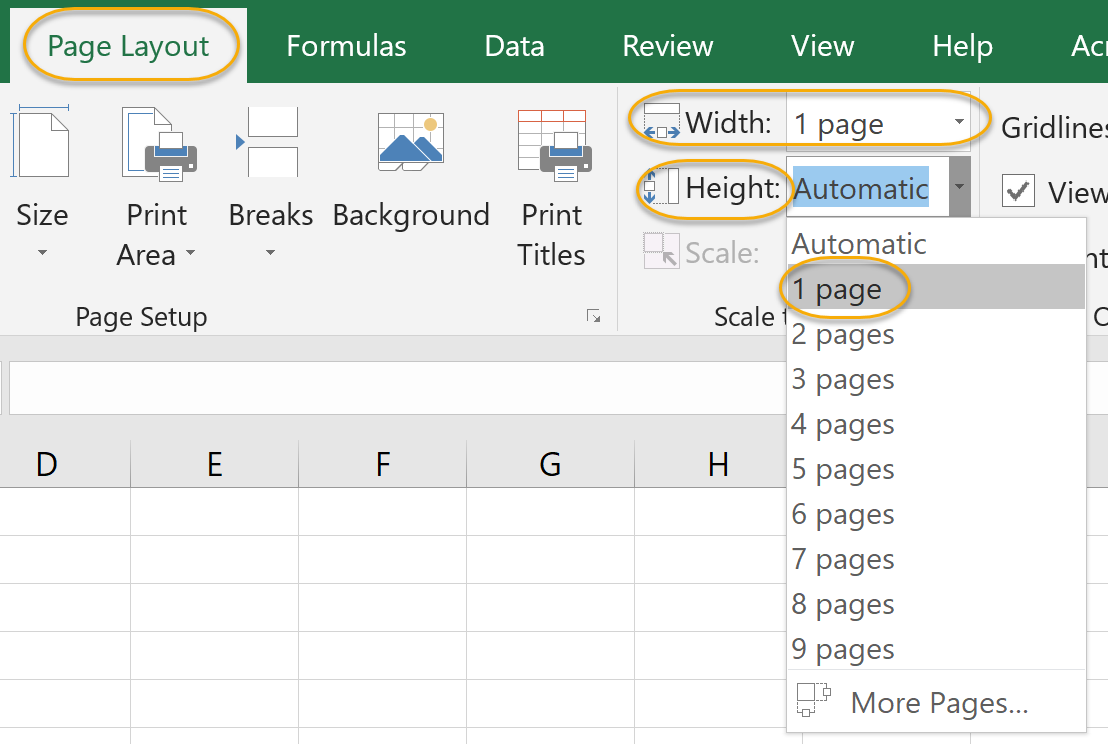
Print Scaling (Fit Sheet on One Page)
Often times it is desirable to print a whole worksheet on one page. Fortunately, there is an easy way to do this (you don't have to play with font sizes, column and row sizes, etc.).
To print a worksheet on one page:
- On the Page Layout tab, in the Scale to Fit group, set the Width and Height to 1 page:
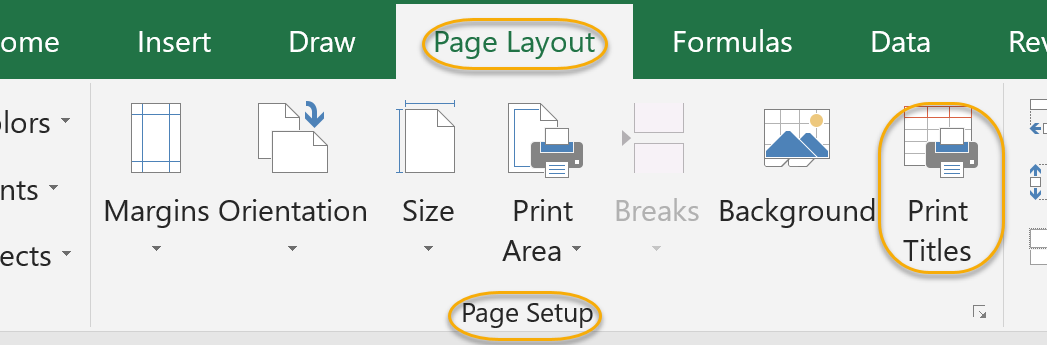
Printing Headings on Each Page/Repeating Headers and Footers
If your printout spans multiple pages, you may want to have column headers and/or row titles be repeated at the top and left of each page.
To print headings on each page:
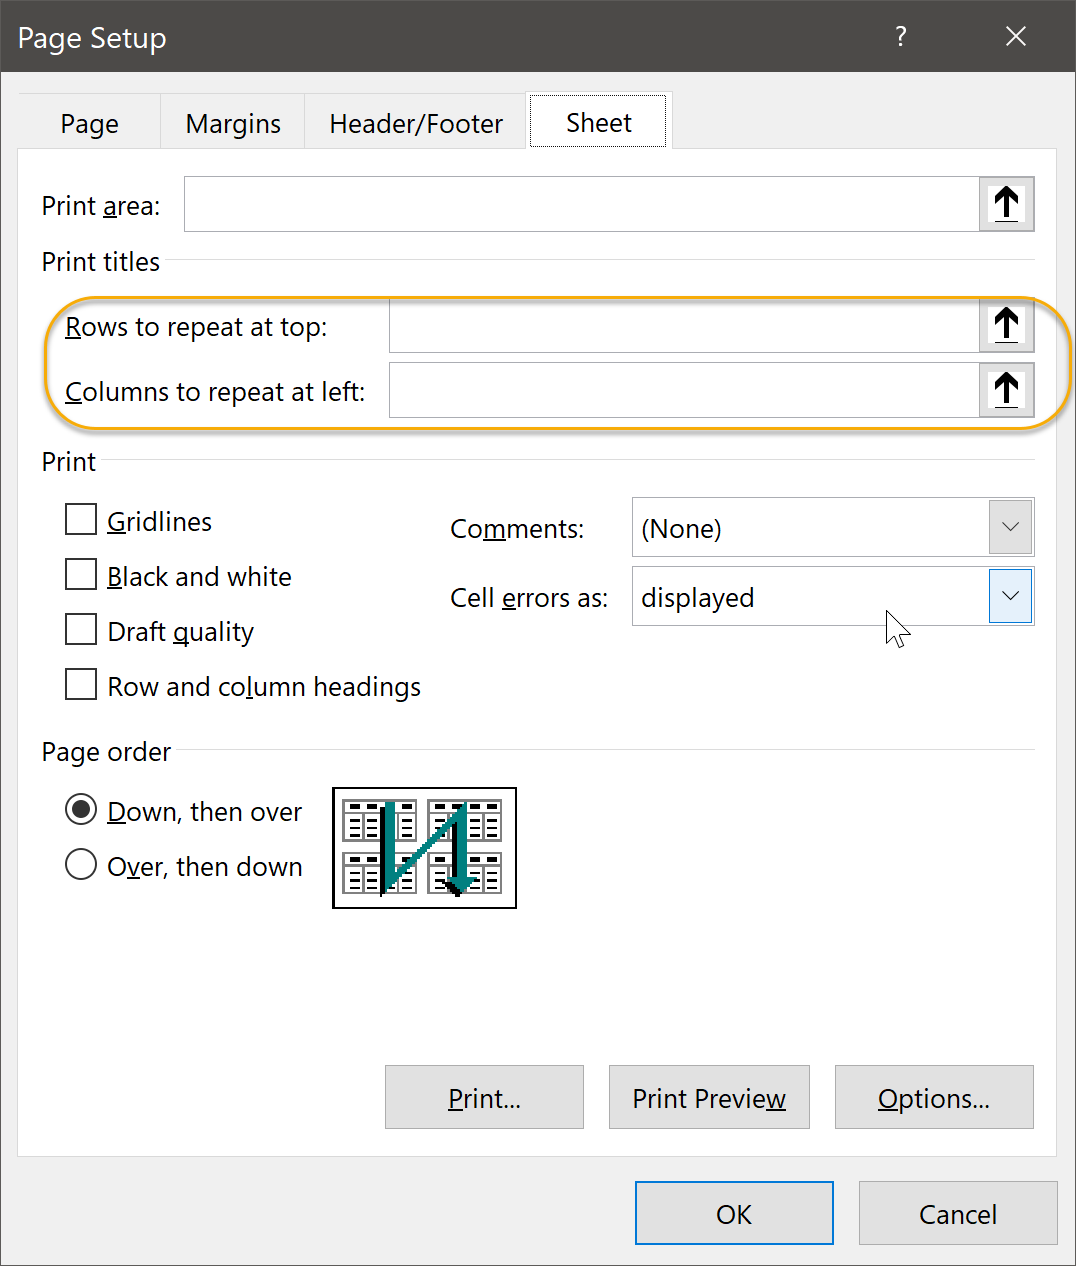
- On the Page Layout tab, from the Page Setup group, select Print Titles.
- In the Page Setup dialog box, on the Sheet tab, under Print titles, type the references of the rows and columns that you want to appear, respectively, in the Rows to repeat at top and Columns to repeat at left options and click OK.
Headers and Footers
To insert a header or footer into a Microsoft Excel workbook:
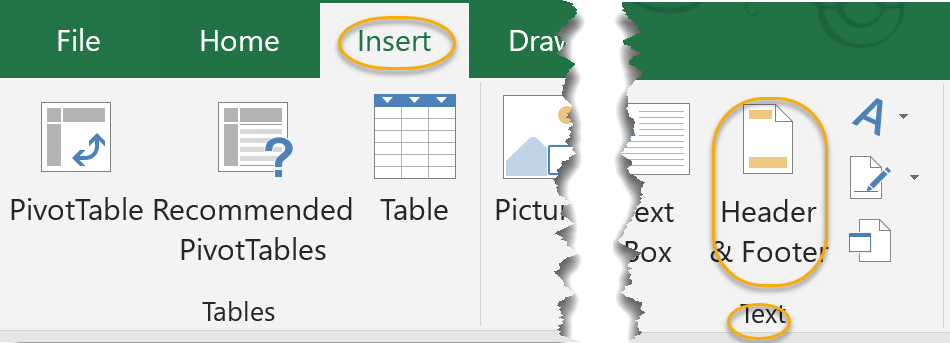
- On the Insert tab, in the Text group, click Header & Footer:

- Note that:
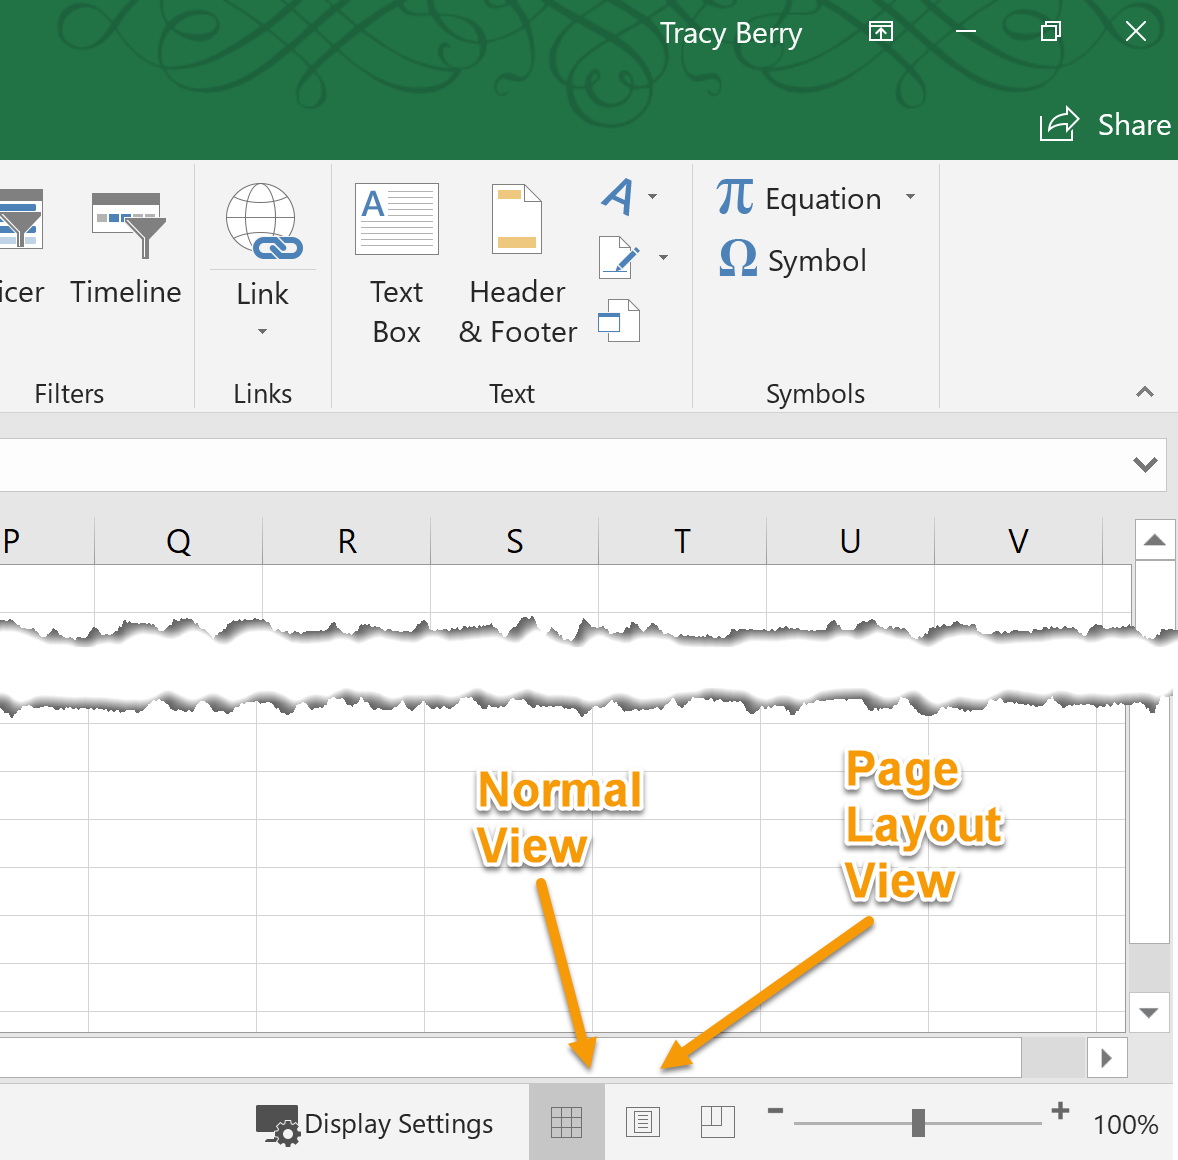
- Excel has switched to the Page Layout view, in which the header and footer are visible. When done editing the header and footer, simply switch back to the Normal view:
- The header contains three sections: left, center and right. By default your cursor starts in the center section of the header, but you can switch to one of the others by clicking on it:

- Excel has automatically opened the Header & Footer Tools Design toolbar:

- Excel has switched to the Page Layout view, in which the header and footer are visible. When done editing the header and footer, simply switch back to the Normal view:
- From the Header & Footer Tools Design toolbar you can:
- In the Header & Footer group, click Header or Footer and insert one of the options available:

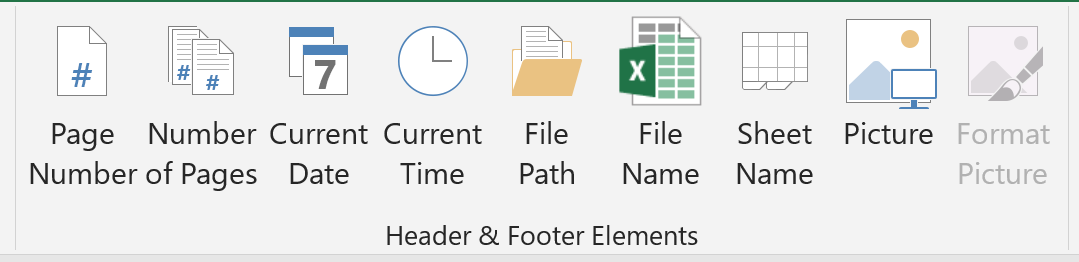
- In the Header & Footer Elements group, insert one of the following:
- Page Number. Adds the page number to the selected section of the header or footer.
- Number of Pages. Adds the number of pages to the selected section of the header or footer.
- Current Date. Adds the current date, at the time of printing, to the selected section of the header or footer.
- Current Time. Adds the current time, at the time of printing, to the selected section of the header or footer.
- File Path. Adds the file path to the selected section of the header or footer.
- File Name. Adds the file name to the selected section of the header or footer.
- Sheet Name. Adds the sheet name to the selected section of the header or footer.
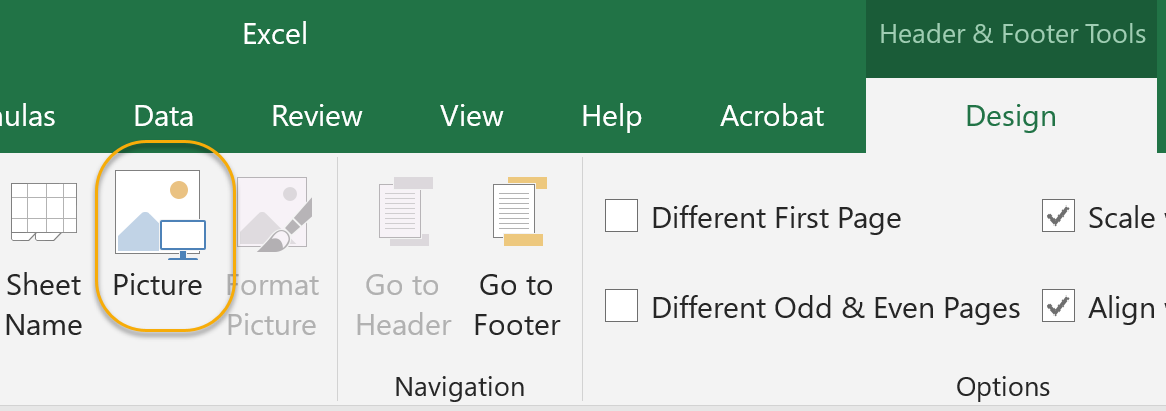
- Picture. Opens up the Insert Picture dialog box, where you can surf to and select a picture by clicking Insert.
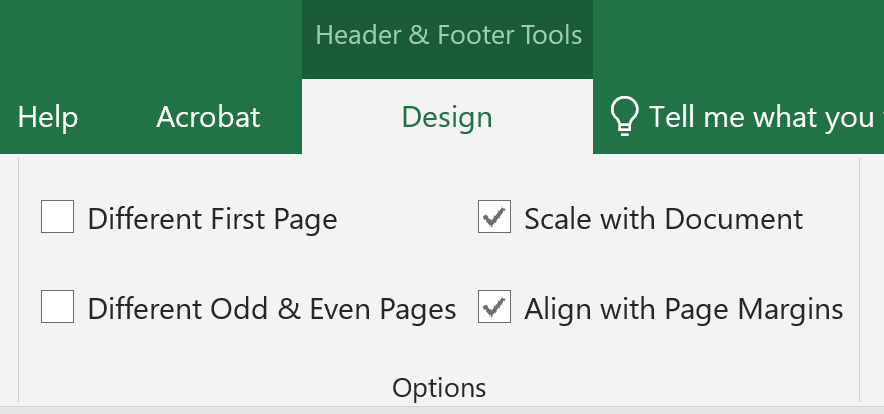
- In the Options group, check Different First Page to set the header and footer such that they do not show on the first page:
- In the Header & Footer group, click Header or Footer and insert one of the options available:
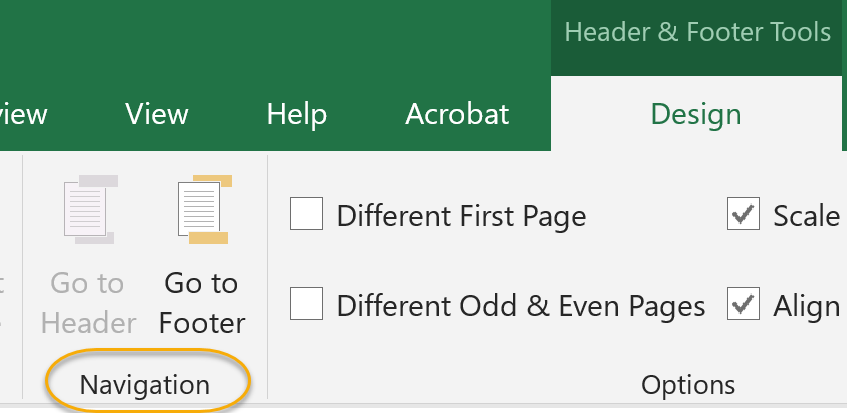
- To move between the header and the footer, click Go to Footer or Go to Header in the Navigation group:
If your worksheet spans more than one page when printing and you have entered a header or footer, it will be printed on each page.
Preparing to Print
Duration: 10 to 20 minutes.
In this exercise, you will prepare your worksheet for printing.
- Continue working in the workbook from the last exercise or open Dave's Lemonade Stand - Preparing to Print.xlsx from your Excel2019.1/Exercises folder.
- Center data horizontally and vertically on the page.
- Set the page orientation to landscape.
- Set the worksheet to print on one page.
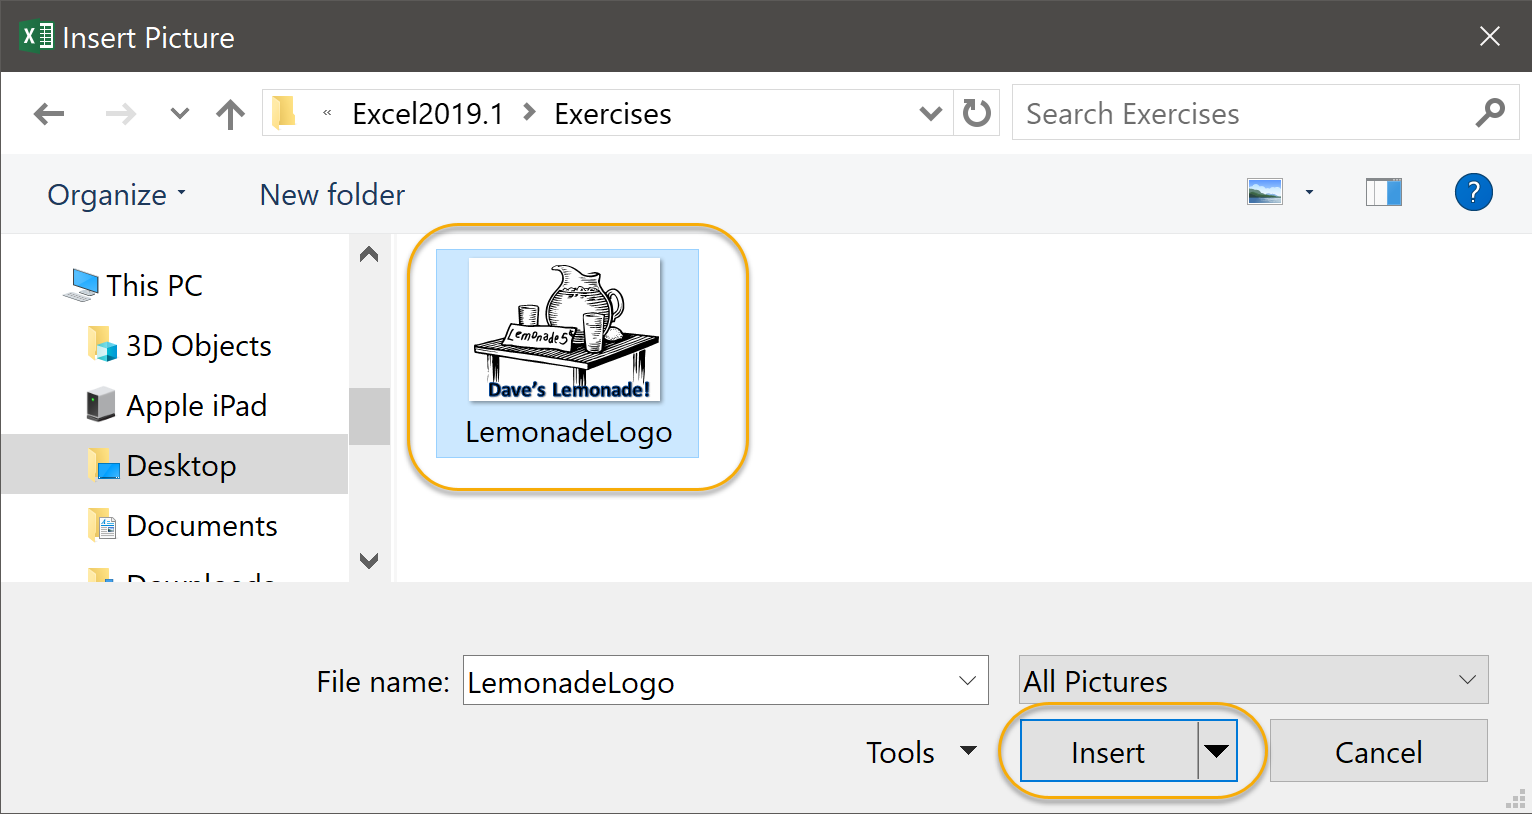
- Add the picture LemonadeLogo.gif, found in your Excel2019.1/Exercises folder, to the header in the center section.
- Save the workbook.
Solution:
- Open or go to the specified file.
- To center data horizontally and vertically on the page:
- On the Page Layout tab, in the Page Setup group, click the Margins command:

- Select Custom Margins:

- In the Center on Page section, check both Horizontally and Vertically and click OK:
- On the Page Layout tab, in the Page Setup group, click the Margins command:
- To set the page orientation to landscape:
- On the Page Layout tab, in the Page Setup group, click the Orientation command:
- Select Landscape:

- On the Page Layout tab, in the Page Setup group, click the Orientation command:
- To set the worksheet to print on one page:
- On the Page Layout tab, in the Scale to Fit group, set the Width and Height to 1 page:

- On the Page Layout tab, in the Scale to Fit group, set the Width and Height to 1 page:
- To add the logo to the header:
- On the Insert tab, in the Text group, click Header & Footer:
- On the Header & Footer Tools Design tab, in the Header & Footer Elements group, click Picture:
- Click From a File, then navigate to your Excel2019.1/Exercises folder, select LemonadeLogo.gif, and click Insert:
- On the Insert tab, in the Text group, click Header & Footer:
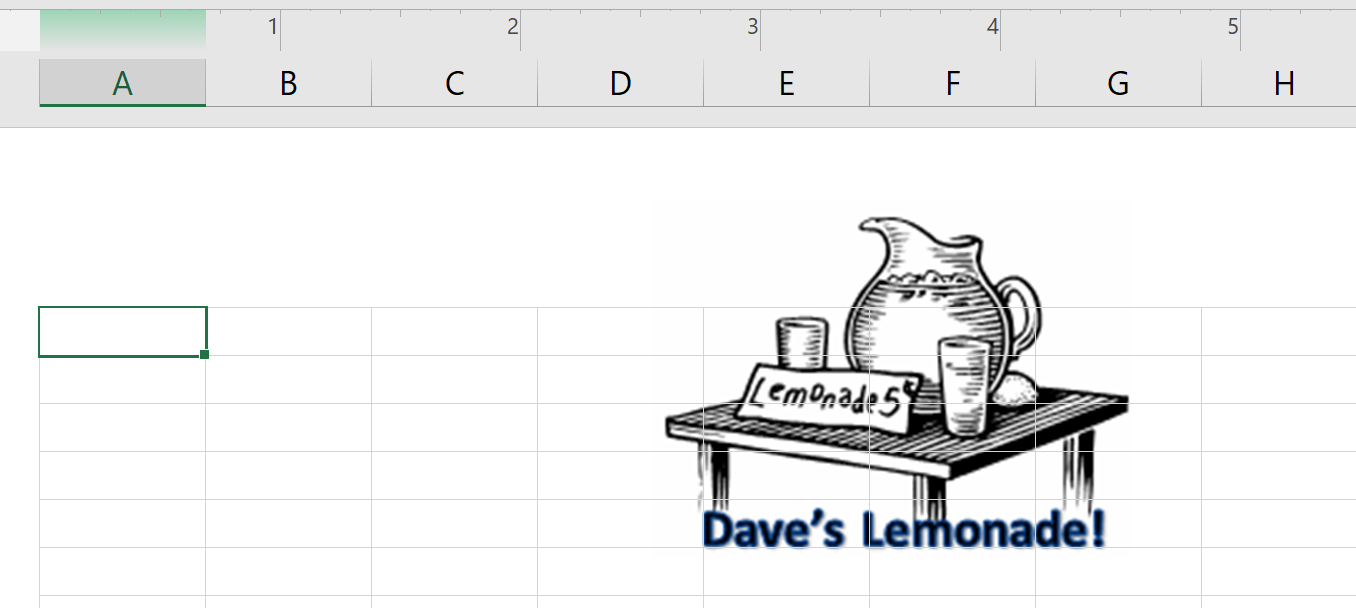
- Save the workbook. If you print it, it should look like this:


Comments
Post a Comment